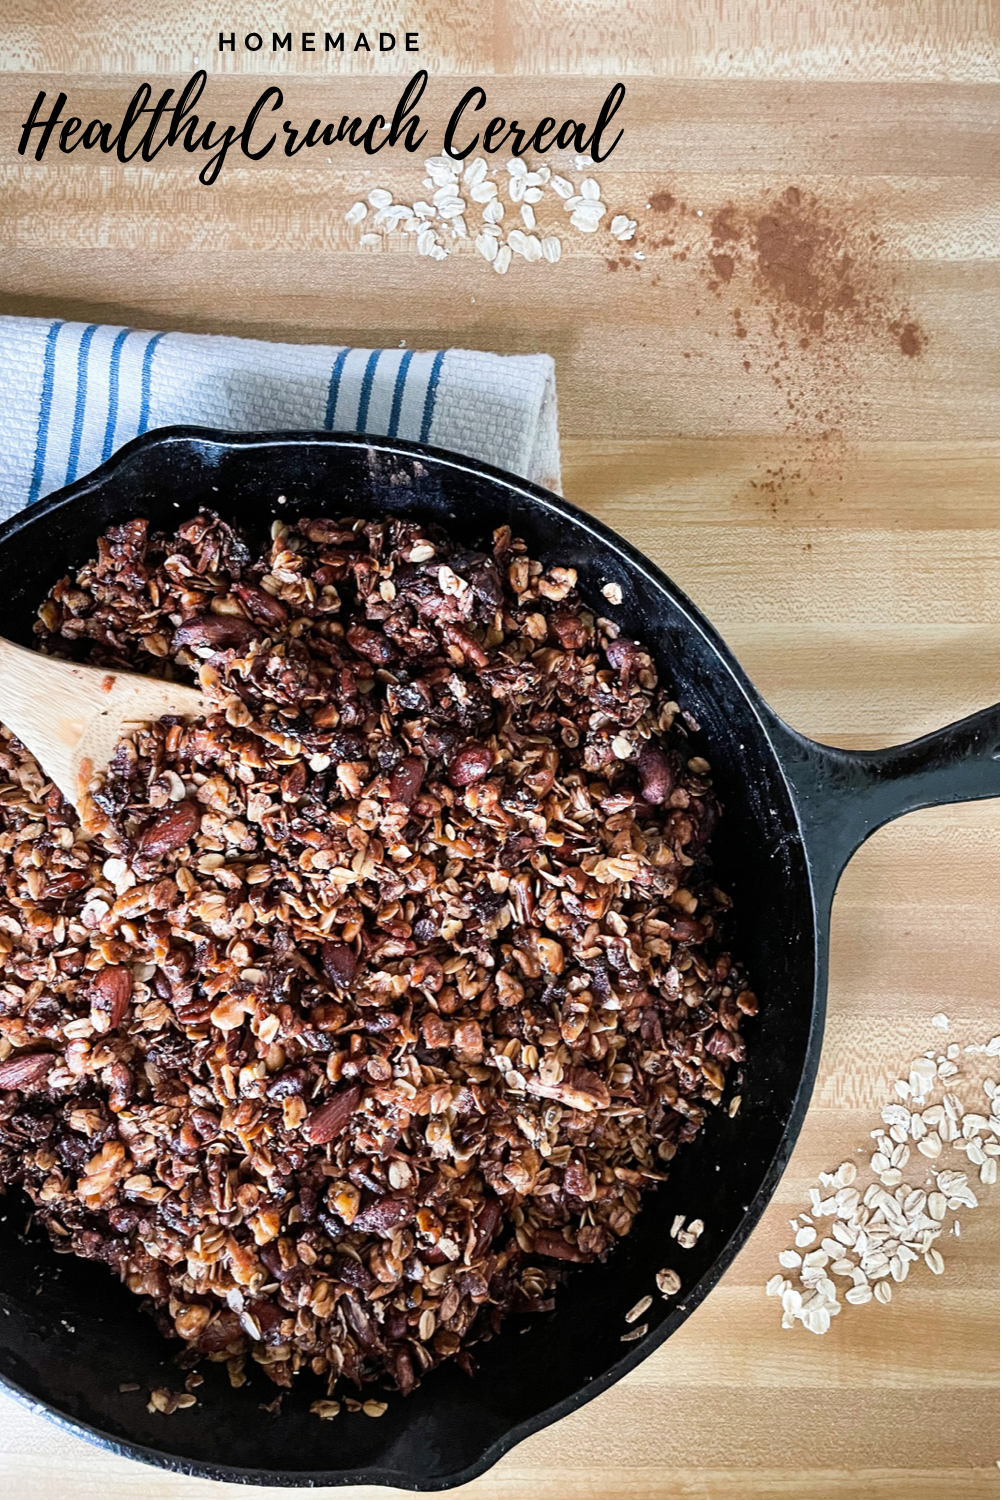
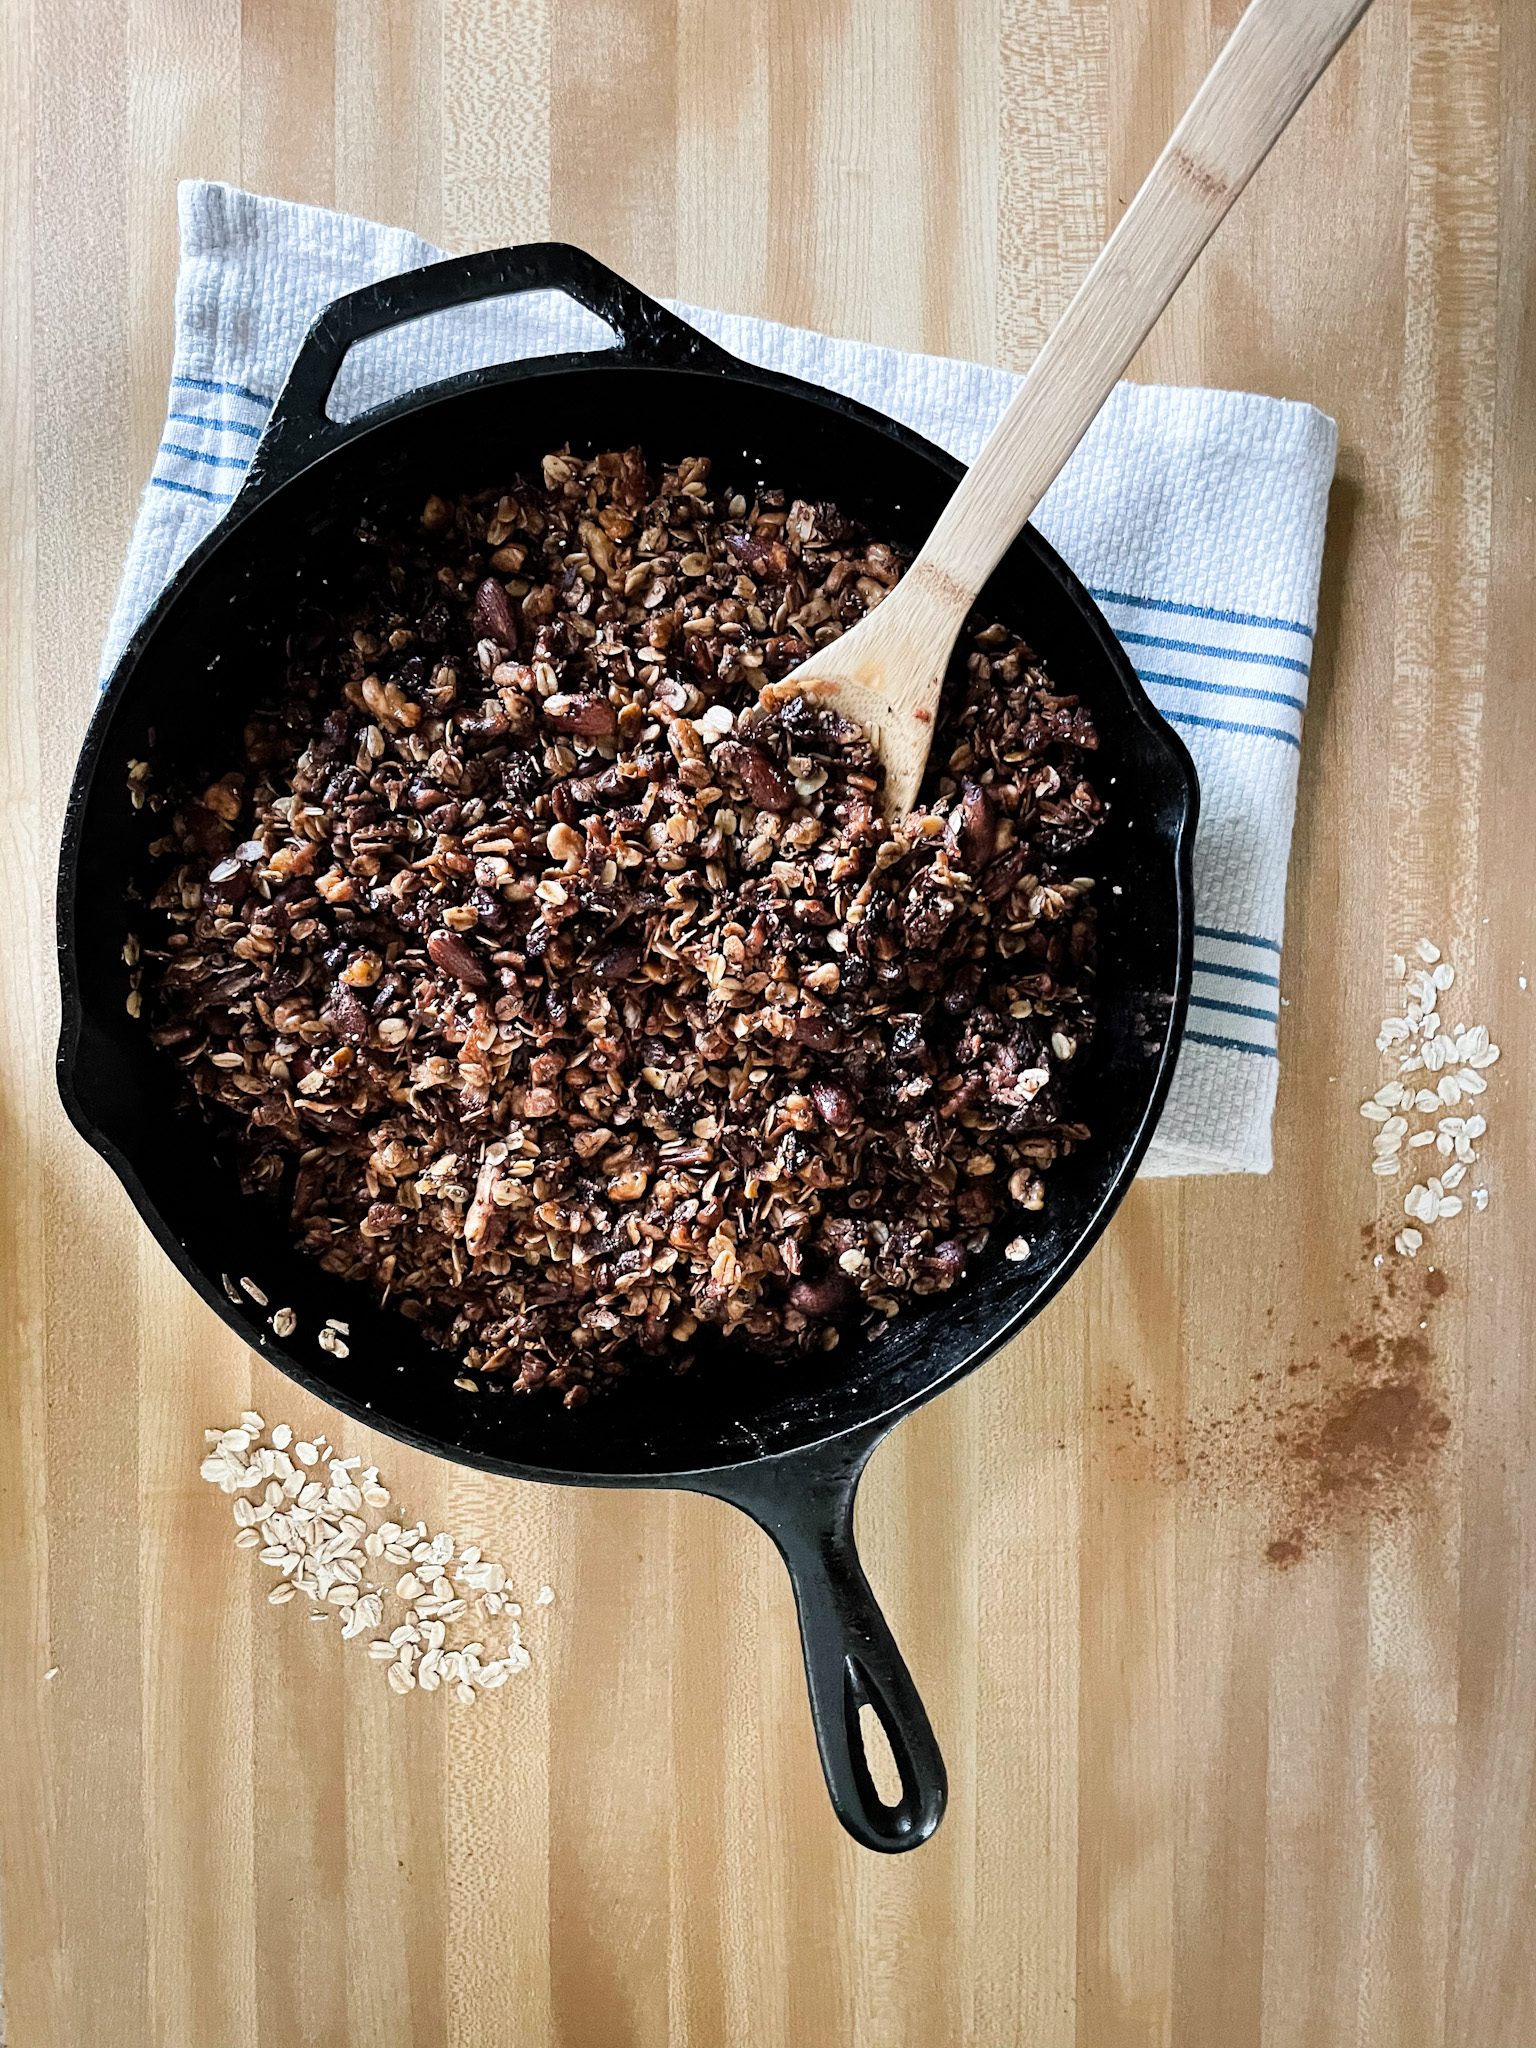
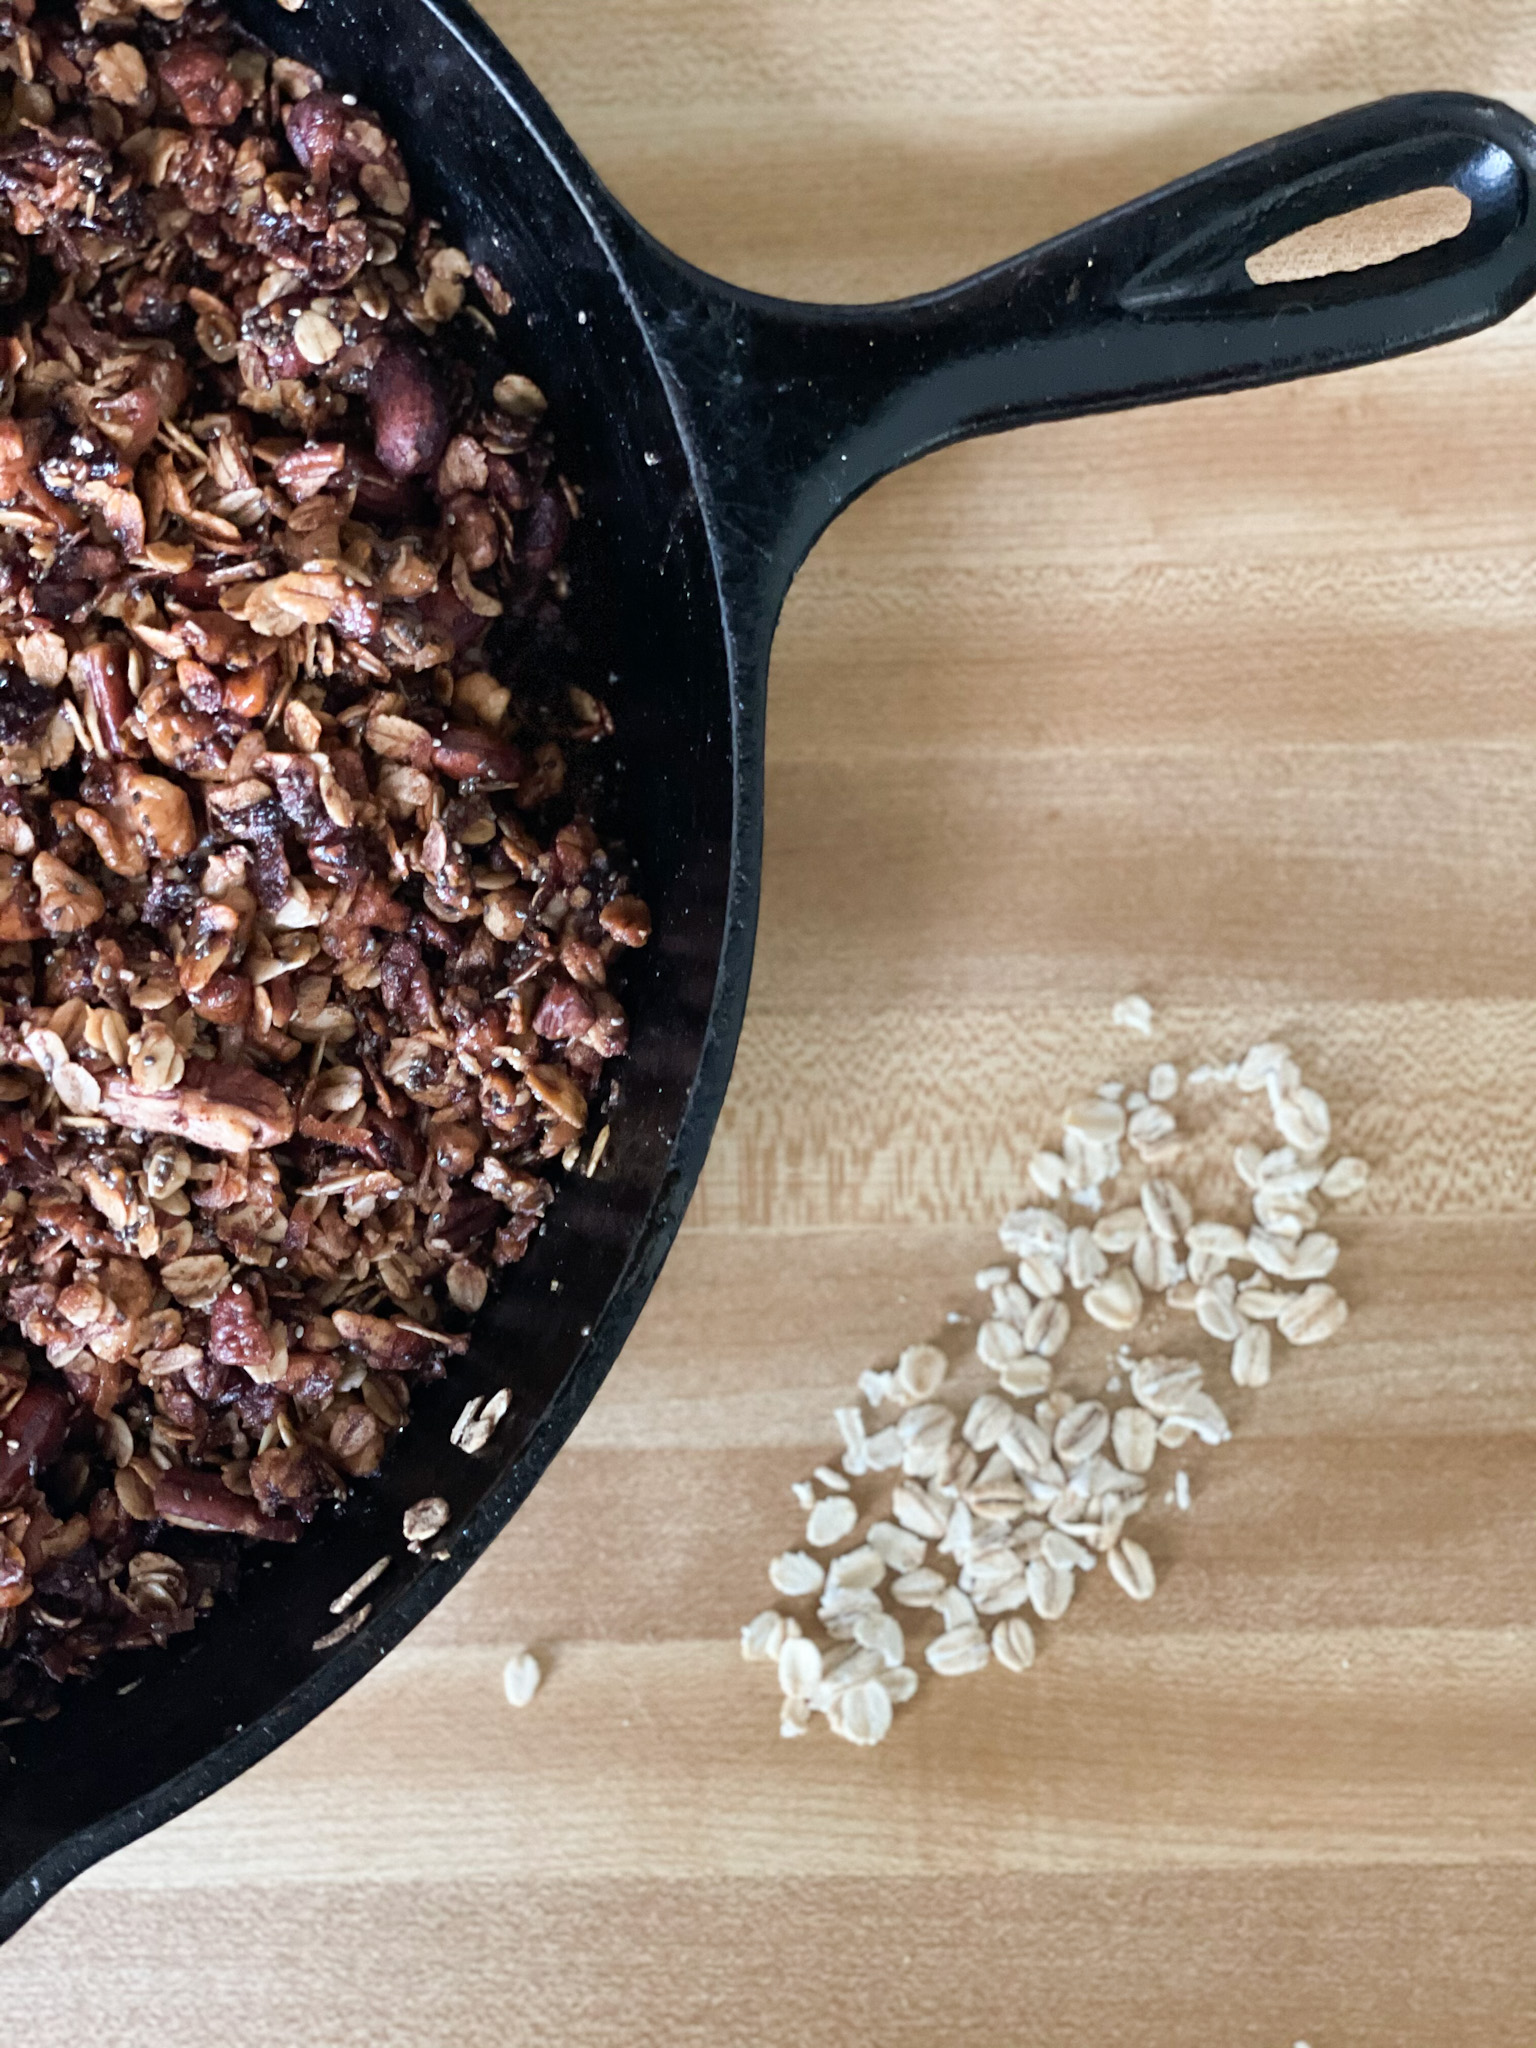
Read more to find out how to make this delicious crunch cereal from scratch. This recipe is full of nutritious foods including nuts, seeds, dried berries, and spices that taste like heaven. It’s my husband favorite thing to have with milk or even use it as granola on yogurt!
Cereal is just the way to go in the morning especially when you’re on the go. It’s quick, efficient, and fills you up, but we know that the cereal from the store is not always the most nutritious for our bodies.
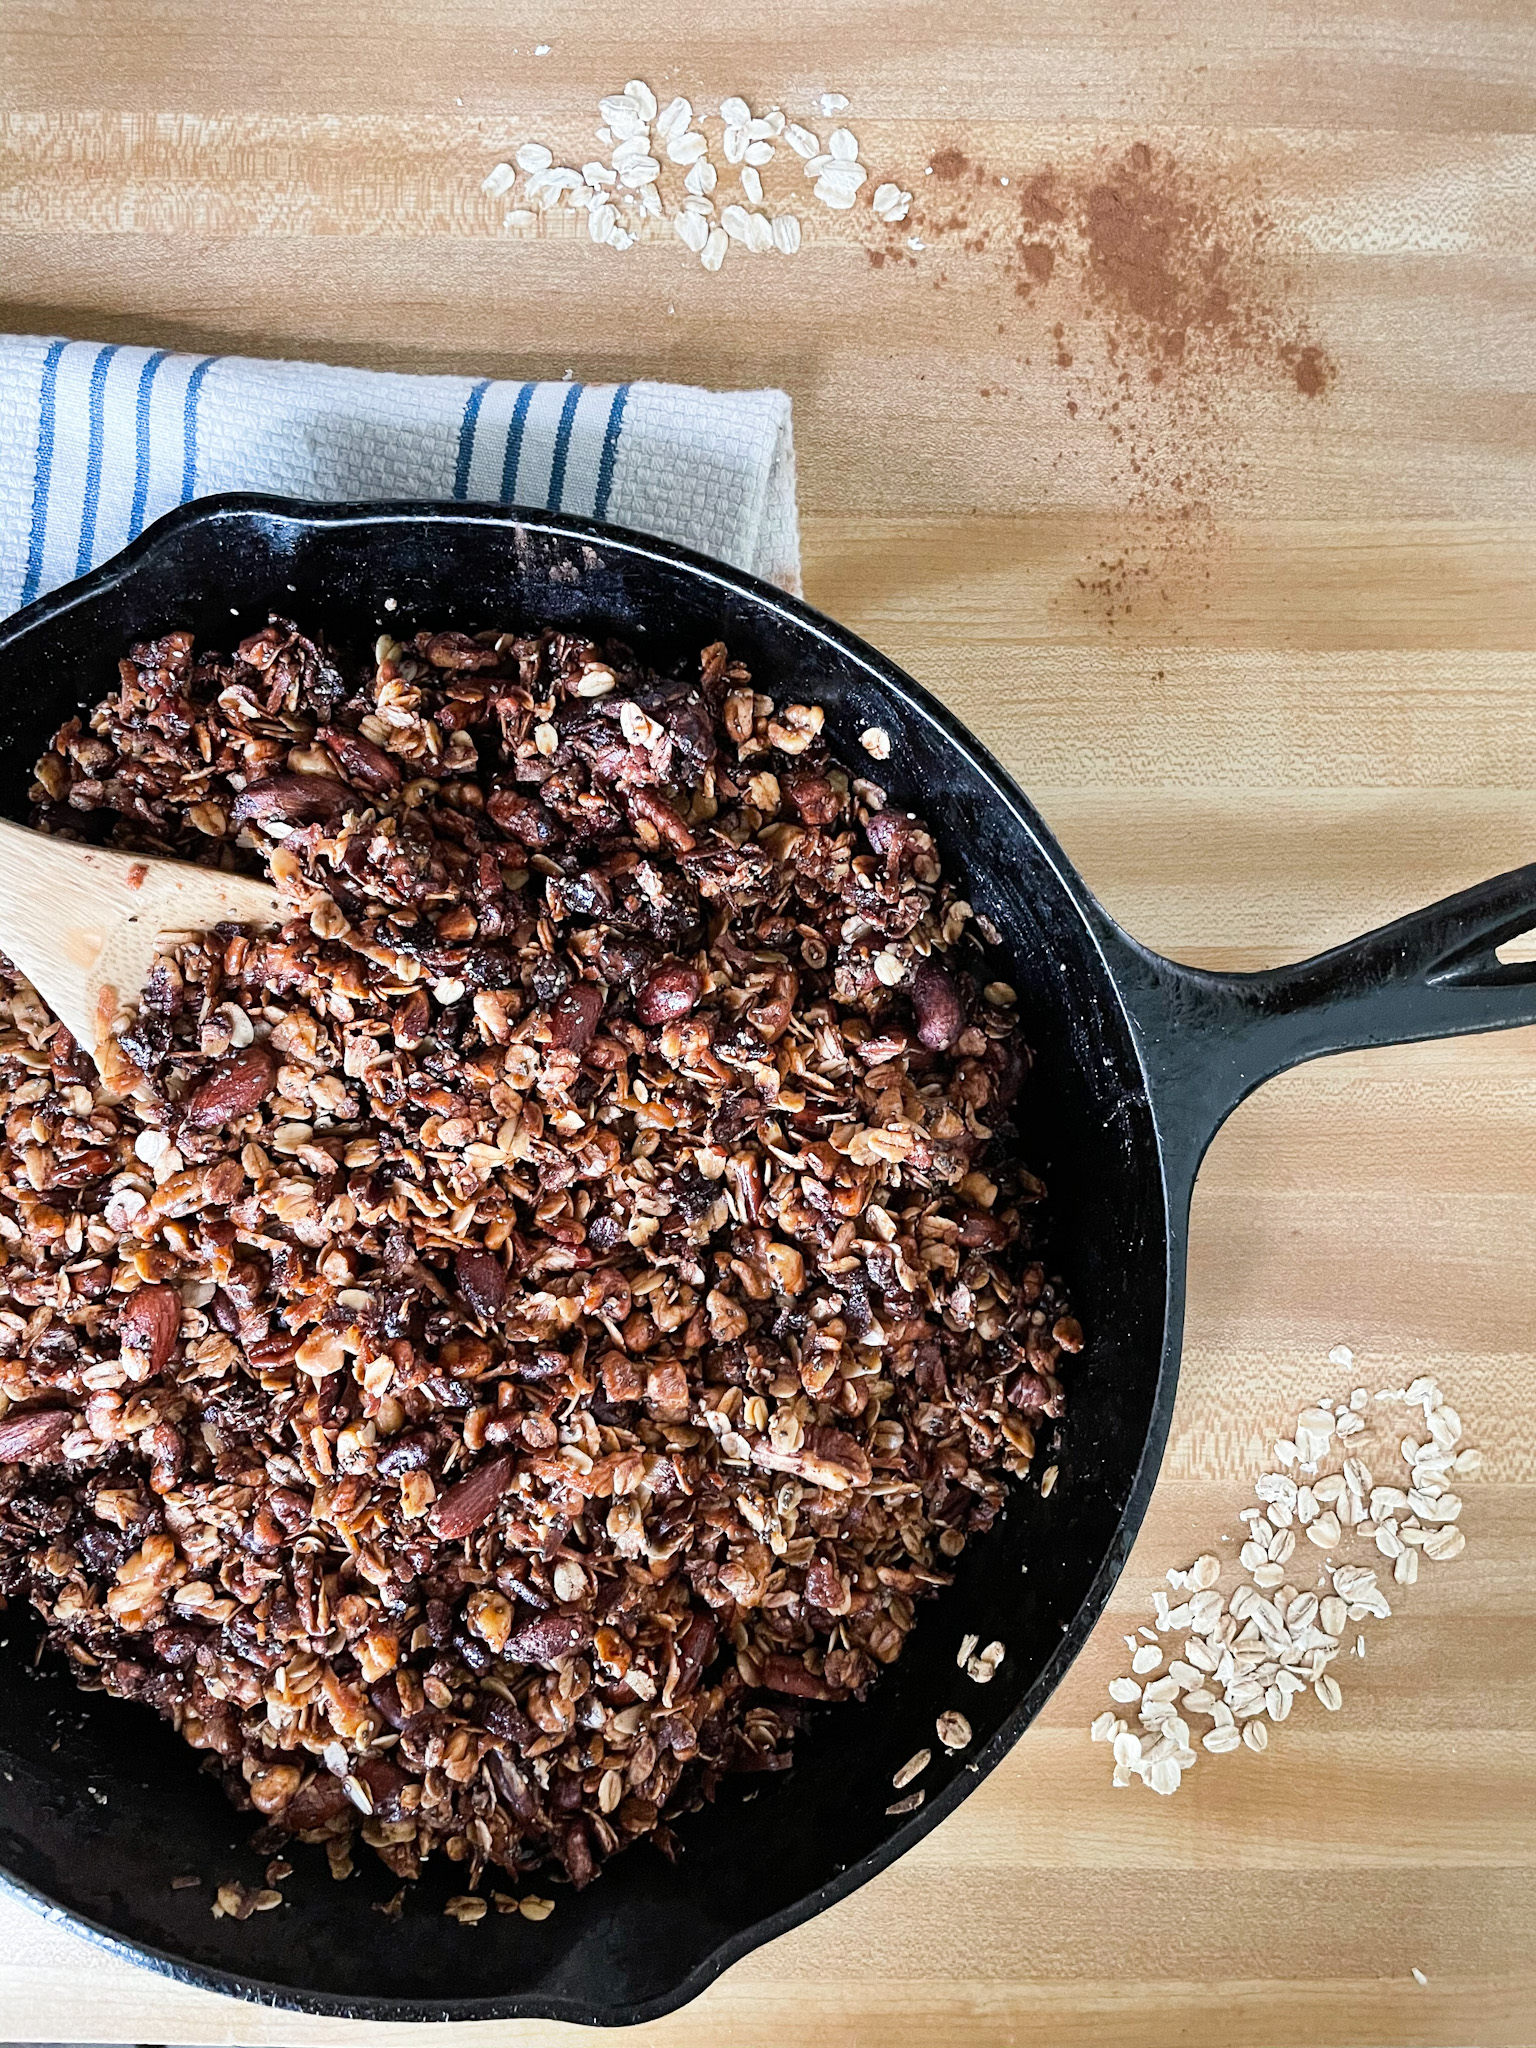
When I was fooling around with different recipes, I stumbled upon this recipe I’m about to show you. I was trying to make a granola for my yogurt, but found this recipe makes the absolute best cereal more so than granola. It’s full of nuts, seeds, grains, local honey, and spices that are naturally sweet. You can add a bit of brown sugar to this recipe, but I truly believe you do not need to with how tasty it is.
WHY SHOULD I MAKE MY OWN CEREAL?
There are so many different options at the store that you may be wondering why you would even want to make your own cereal. It’s so much easier to buy a box, right?
Yes, it IS easier, but the benefits of making your own cereal at home to me outweigh the little convenience of buying it at the store.
EASY: Making this cereal is much easier than you think and the prep time only takes about 5-10 minutes to put it all together. Cook time is about 30-35 minutes so while preparing lunch or dinner you could totally do this!
NUTRITIOUS: The cereal from the store can be nutritious, but you will receive more health benefits from making it at home. This cereal is packed with healthy fats, protein, vitamins, and minerals that are so goof for you and will make you feel full for awhile after consuming this meal.
NO ADDED SUGARS: Everything in this cereal contains natural sugars and has no added sugars. Of course you can add in some brown sugar for more sweetness, but it is definitely not required to do so!
LASTS A LONG TIME: As long as it is stored in an air tight container, it can last for a while. We have kept our cereal for a couple weeks with no problems.
BENEFITS OF MAKING FOOD HOMEMADE
I believe in this day in age we care more about the convenience of food rather than the quality of it. There are so many different drive thrus these days along with Doordash and Uber that is almost makes it difficult to want to make food at home anymore.
Making food from home is more than what we think though. A lot of food that is in the grocery store or at restaurants is processed food. Processed food is food that is formed into a different food. Hard to understand, right?
Let’s take the cereal from the store. The cereal is made from grains, but could also be made with sugar, chemicals, and preservatives to help make it taste good and make it last longer. These foods can hurt your gut causing issues like gluten intolerance, dairy intolerance, and other food intolerances that disrupt the gut flora.
You also know what is going in it and where your food is being sourced. When you buy food premade from the store, the food could be from anywhere and you probably won’t ever know where it was sourced from where if you made it from home you would know exactly where your food is coming from.
Making food from home tastes way better than from the store. I could go on and on about how my family has truly loved the switch to making almost every meal homemade, and how much better all of our guts feel because of it.
Making your food homemade is more than just because it’s better from you: it affects everything when it comes to food in a positive, delicious way.
WHAT TYPE OF NUTS & SEEDS SHOULD I USE?
You can use any type of nuts and seeds that you prefer, but I use these in the recipe:
- Walnuts
- Pecans
- Almonds
- Chia
- Pumpkin Seeds
WHAT TYPE OF OIL SHOULD I USE?
For this recipe, I recommend using coconut oil. Coconut oil does not have a taste when cooked, and also helps clumps the cereal together nicely when the cereal cools after baking producing the perfect crunch.
BENEFITS OF USING A CAST IRON SKILLET
There are many benefits of using cat iron skillets for cooking, and I wrote an entire blog about it!
Check out the blog 7 Reasons Why You Should Cook With Cast Iron Skillet
SUPPLIES YOU WILL NEED
Measuring Cups
Measuring Spoons
Wooden Spoon
12-14″ Cast Iron Skillet
Half Gallon Mason Jar
INGREDIENTS YOU WILL NEED
1 Cup Coconut Oil
1/2 Cup Honey
1 Cup Chopped Walnuts
1 Cup Chopped Pecans
1 Cup Almonds
1/4 Cup Chia Seeds
1/4 Cup Pumpkin Seeds
1/2 Cup Shredded Coconut
2 Cups Oats
1/2 tsp Salt
1 tsp Vanilla
1 tbsp Cinnamon
Optional: 1 tbsp Brown Sugar for extra sweetness
HOW TO MAKE HOMEMADE HEALTHY CRUNCH CEREAL
1. Heat cast iron skillet for about 3-5 minutes or until it is warm on medium-low heat. Once warm, add the coconut oil to the skillet and full melt it. Turn oven onto 350 degrees.
2. While coconut oil is melting, mix together the walnuts, pecans, almonds, chia seeds, and pumpkin seeds.
3. Once the coconut oil is fully melted, slowly add in honey to the oil. Stir for about a minute.
4. Add in the nuts and seeds mixture to the coconut oil and honey stirring occasionally.
5. When everything is mixed, add in shredded coconut, oats, salt, and cinnamon. Mix thoroughly until it is all even.
6. With a wooden spoon, lightly press the mixture evenly into the cast iron skillet.
7. Place cast iron skillet into the oven for 30-35 minutes or until lightly browned on top.
8. When the cereal is baked, pull it out of the oven. Transfer cereal to the mason jar while it is still hot. If you wait until it is cooled off, then it will be very difficult to transfer to the mason jar.
9. Store on the counter and enjoy with some milk! You can also use it as granola.
WHAT TO DO IF YOU LET THE CEREAL COOL AND IT IS STICKING TOGETHER?
If you let the cereal cool too much, it will more than likely stick together to where it is hard to break apart. No problem at all! I usually will put the cast iron on low heat and when it gets warm the coconut oil will start to melt helping being able to scoop out the cereal more easily.
TOPPINGS TO ADD WITH THE CEREAL
I love to add dried cherries and chocolate chips into my cereal – absolutely delicious!
You could also add:
- Dried cranberries or any Dried Fruit
- Berries
- Coconut Flakes
Homemade Healthy Crunch Cereal
Ingredients
- 1 cup Coconut Oil
- 1/2 cup Honey
- 1 cup Walnuts
- 1 cup Pecans
- 1 cup Almonds
- 1/4 cup Chia Seeds
- 1/4 cup Pumpkin Seeds
- 1/2 cup Shredded Coconut
- 2 cups Oats
- 1/2 tsp Salt
- 2 tsp Vanilla
- 1 tbsp Cinnamon
- 1 tbsp Brown Sugar OPTIONAL
Instructions
- Heat cast iron skillet for about 3-5 minutes or until it is warm on medium-low heat. Once warm, add the coconut oil to the skillet and full melt it. Turn oven onto 350 degrees.
- While coconut oil is melting, mix together the walnuts, pecans, almonds, chia seeds, and pumpkin seeds in a bowl.
- Once the coconut oil is fully melted, slowly add in honey to the oil. Stir for about a minute.
- Add in the nuts and seeds mixture to the coconut oil and honey stirring occasionally.
- When everything is mixed, add in shredded coconut, oats, salt, vanilla, and cinnamon. Mix thoroughly until it is all even.
- With a wooden spoon, lightly press the mixture evenly into the cast iron skillet.
- Place cast iron skillet into the oven for 30-35 minutes or until lightly browned on top.
- When the cereal is baked, pull it out of the oven. Transfer cereal to the mason jar while it is still hot. If you wait until it is cooled off, then it will be very difficult to transfer to the mason jar.
- Store on the counter and enjoy with some milk! You can also use it as granola.
PIN FOR LATER
